

Quick start
Create a project, make a change, and publish a working version.
This guide takes you through the core Layerwise workflow. You need Layerwise installed and an account signed in with GitHub or Google.
1. Choose a team
Select a team from the sidebar. If you do not have one yet, open the team switcher, choose New Team, and enter a name.
Projects, members, subscription, and usage belong to the selected team.
2. Create a project
On the team home page, enter a description in Describe the app you want to build.... Choose a model available on the team's plan, then send the prompt.
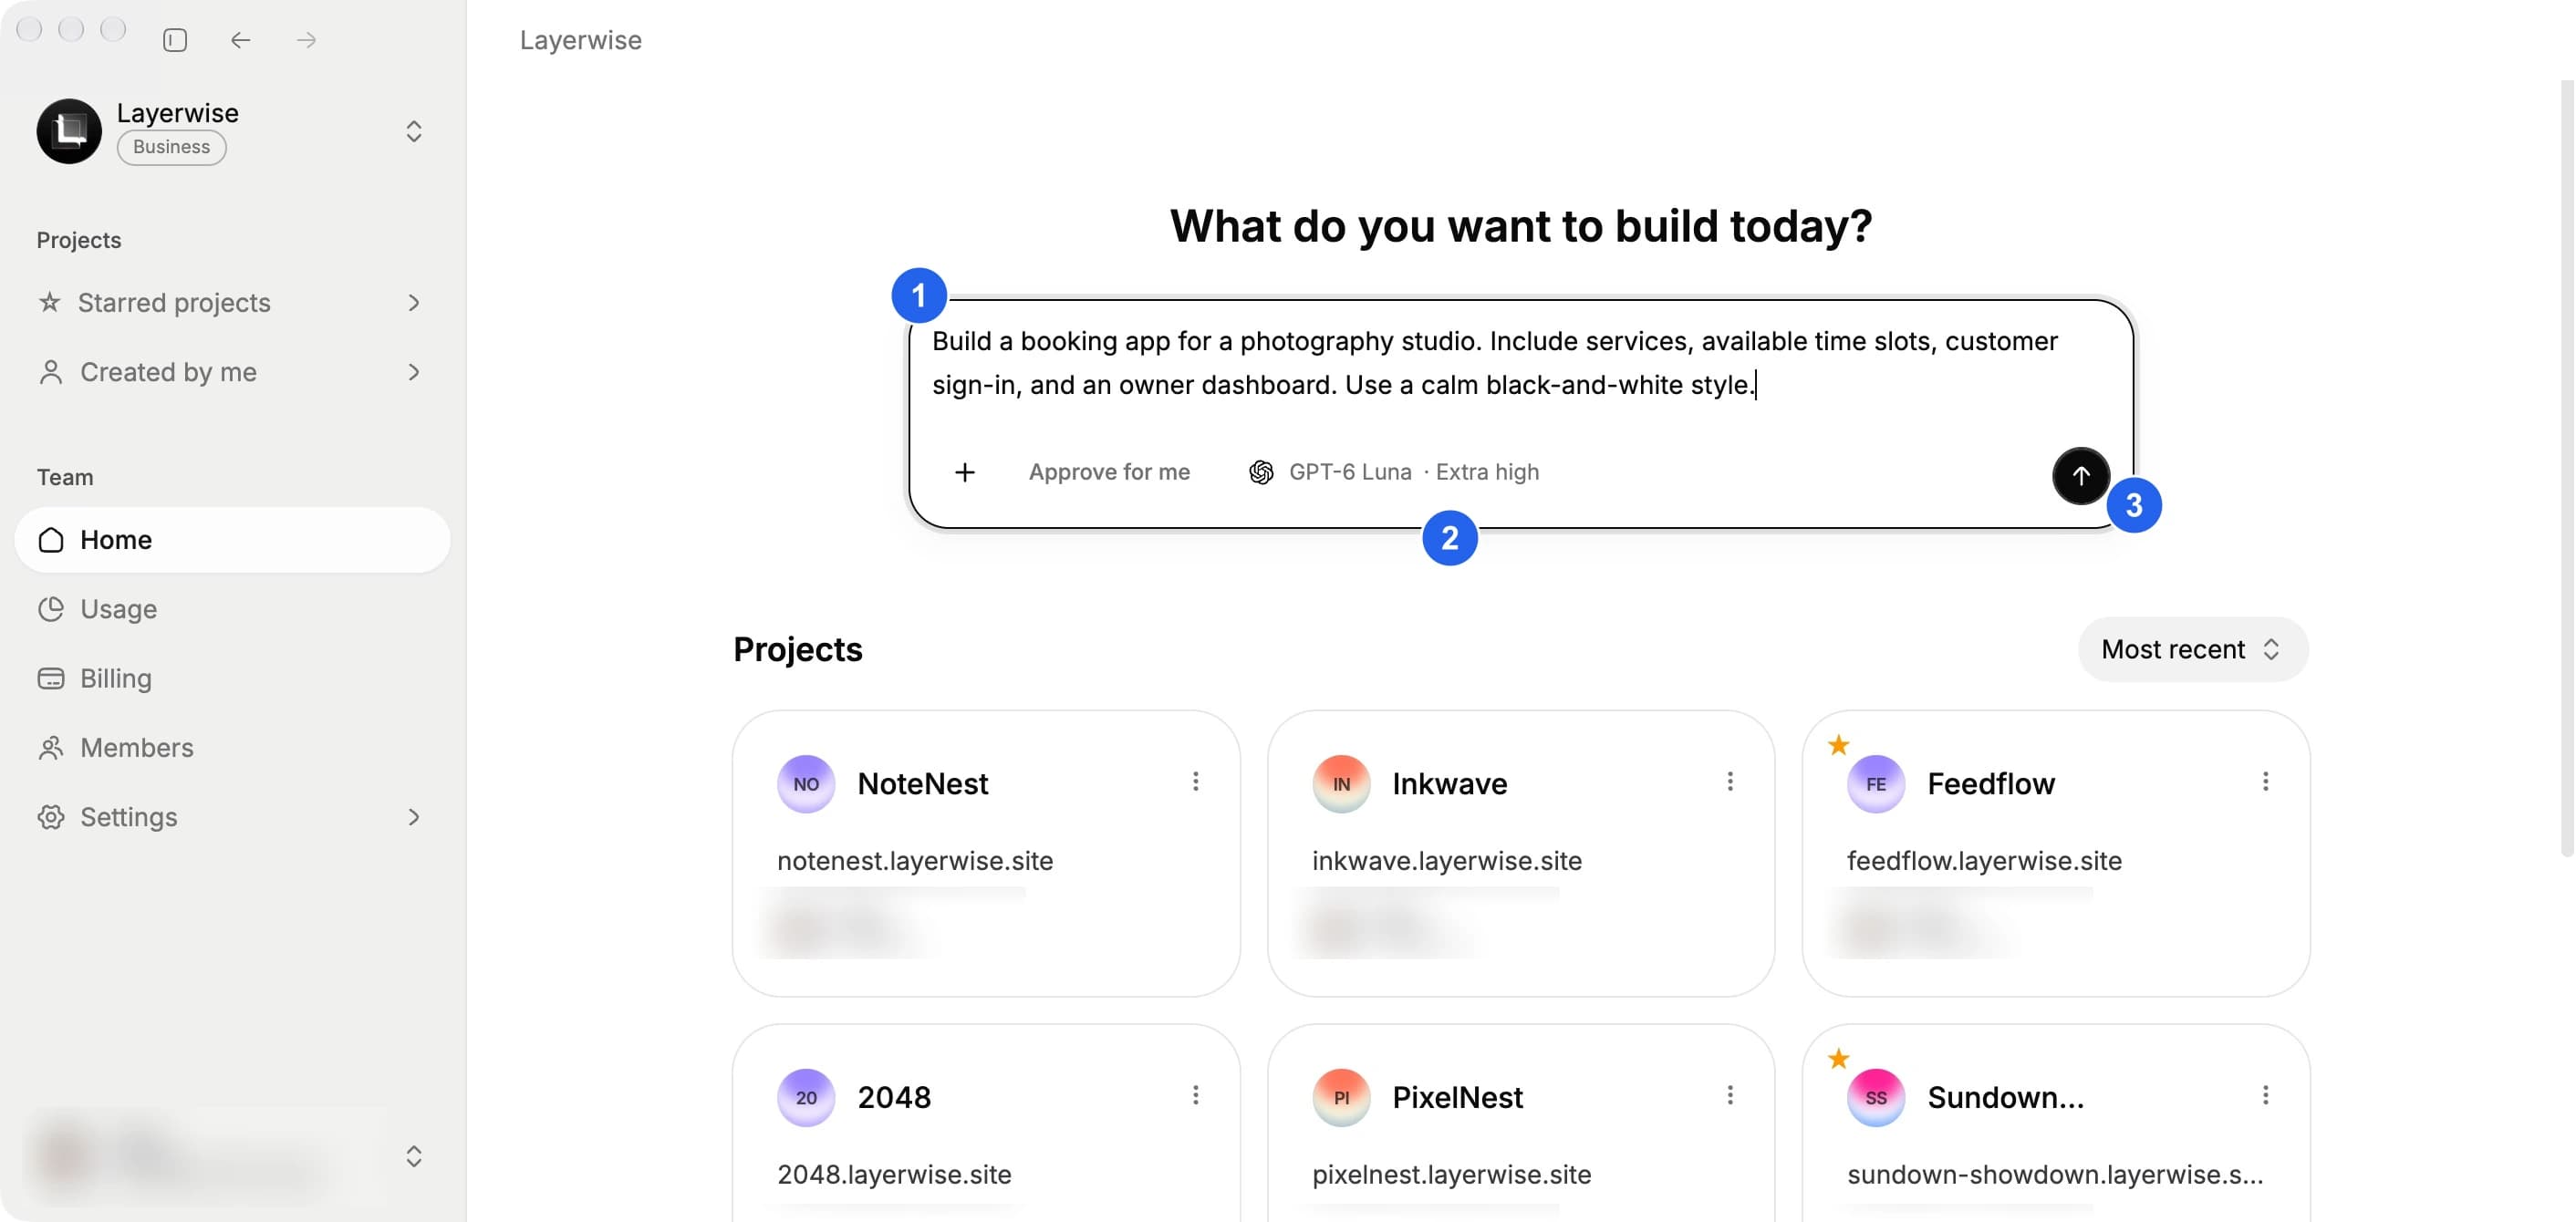
(1) Describe your app, (2) choose a model, then (3) send the prompt.
For example:
Create a booking app for a small photography studio. Include a public service
list, available time slots, customer sign-in, and an owner dashboard for
managing bookings. Use a calm black-and-white visual style.
Layerwise creates the project, prepares its local workspace, and starts the initial conversation.
3. Review and change the app
Wait for the local preview to load beside the conversation. Test the main user path, then ask for one focused change. For example:
Add a booking confirmation screen. Keep the existing visual style, show the
date, time, and service, and add a link back to the dashboard.
See Build and preview for the workspace controls.
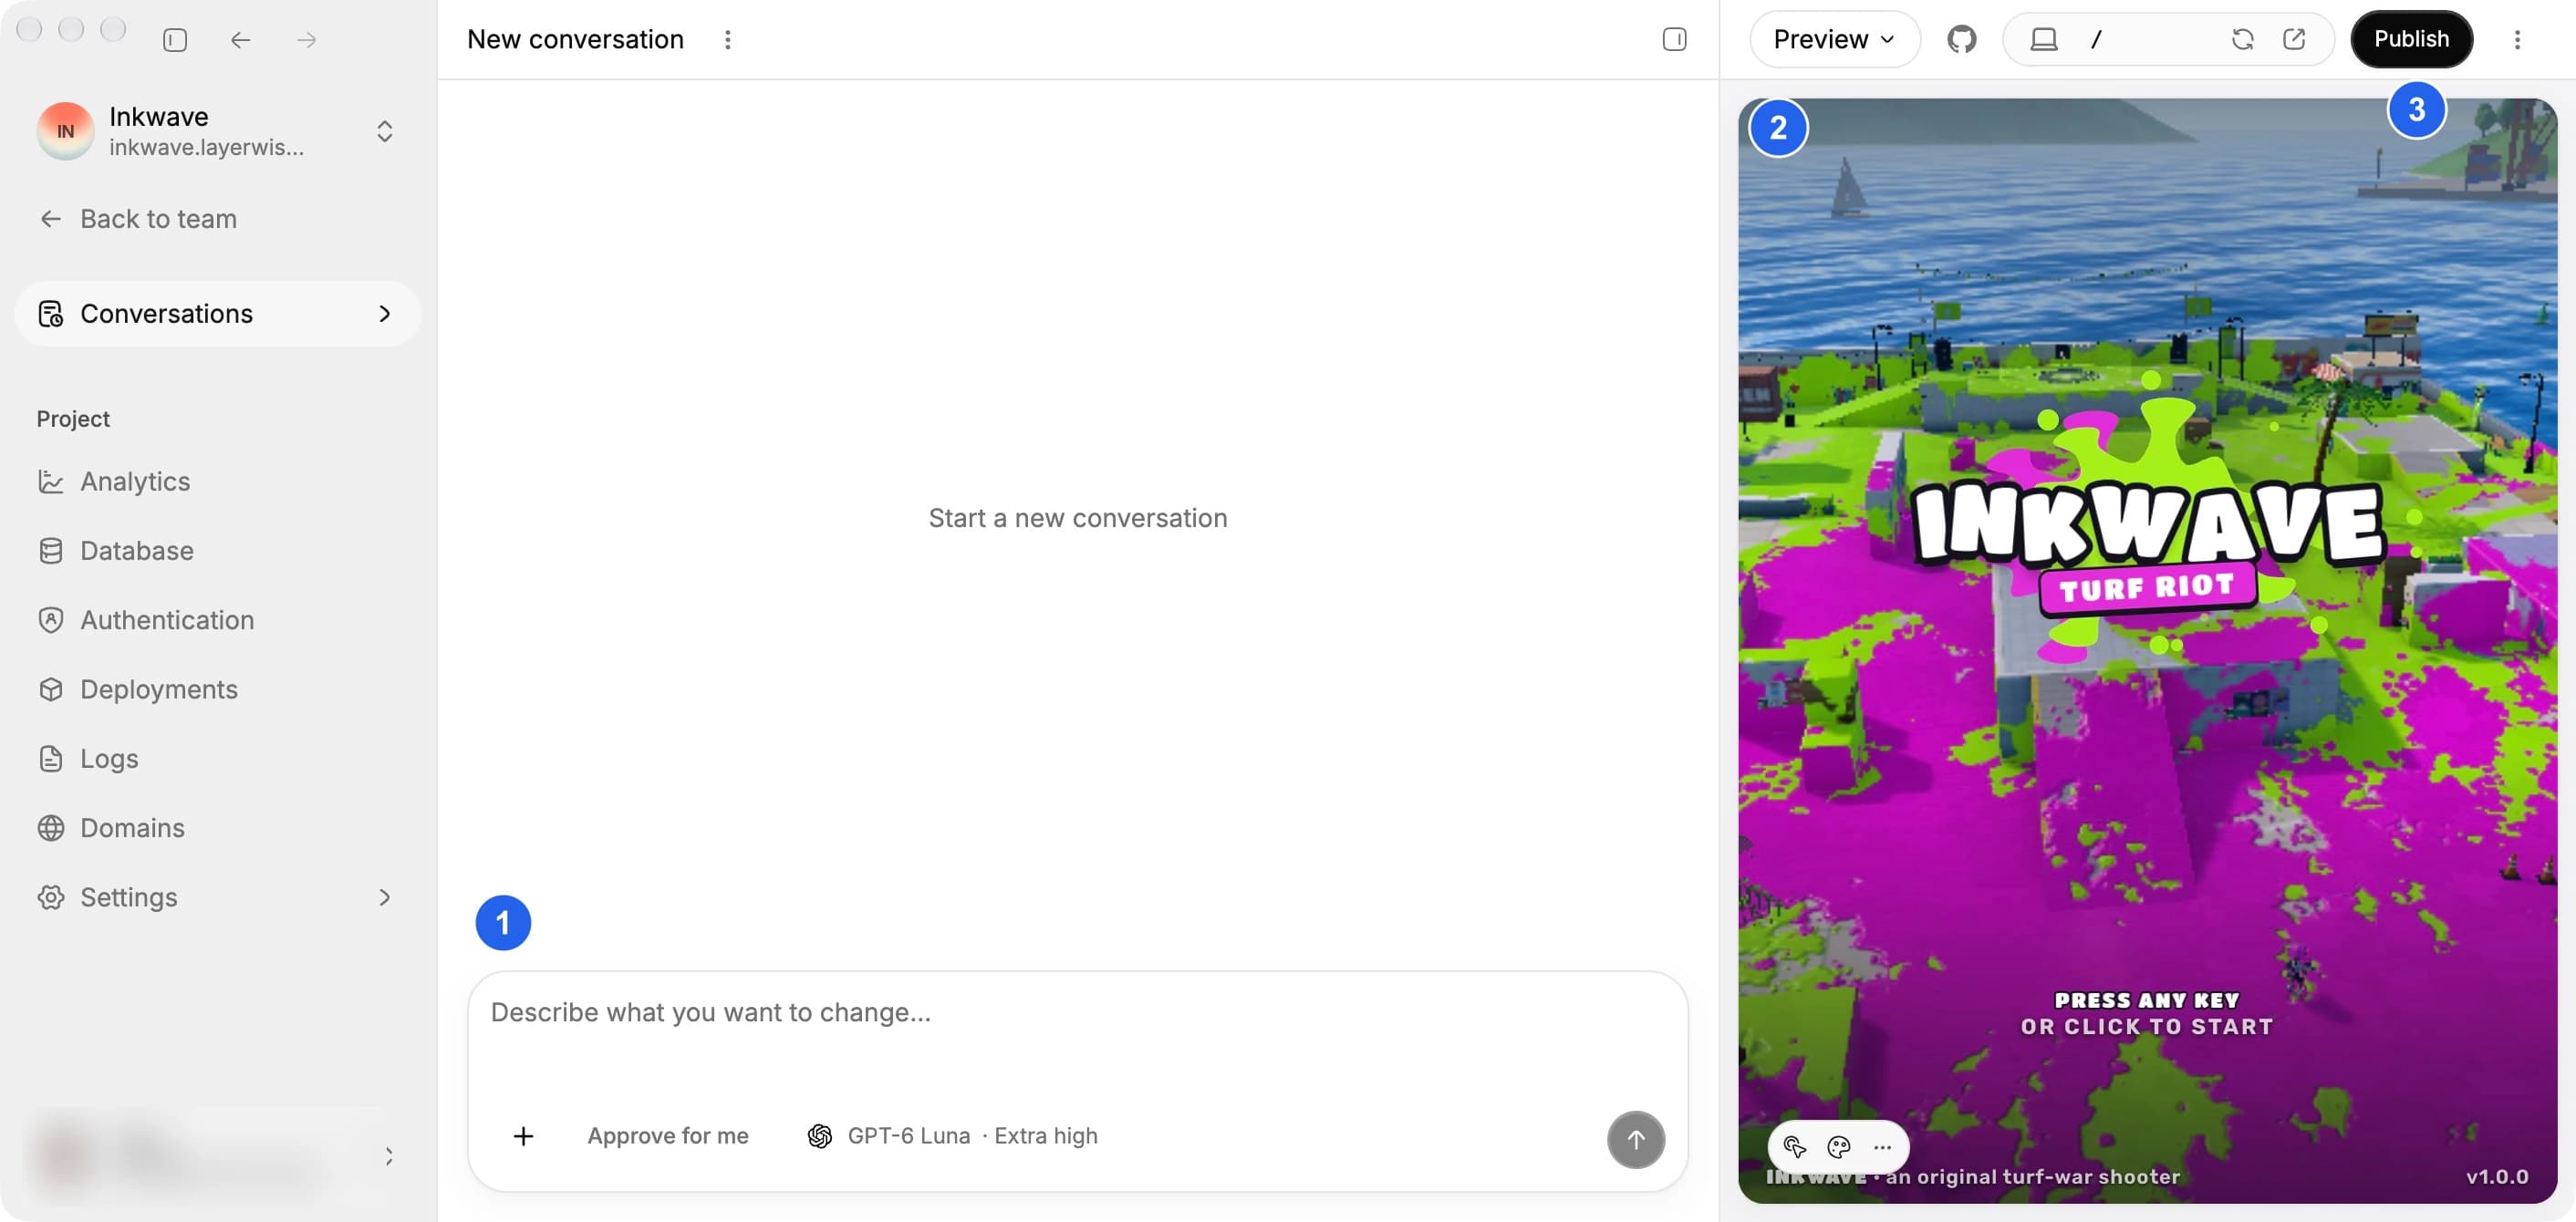
(1) Ask for a change in the conversation, (2) test it in the preview, then (3) publish when it is ready.
4. Publish it
When the local preview works, choose Publish in the preview header and select Publish again from the menu. The menu shows the live URL after the first successful release.
See Publish a project for release checks and recovery.
Next steps
- Learn how to write effective prompts.
- Edit the local code or connect GitHub.
- Add a custom domain.