How to Build a Small Business Website with AI
Build a local business website in Layerwise with a menu, pickup reservations with capacity limits, a contact form, and an owner dashboard.
Table of contents
A small business website looks like a few pages: hours, a menu, and a map. The decisions behind those pages are what make it useful. Who can change the hours on a Sunday morning, and how do they sign in? What stops a seventh person from reserving a pickup slot that holds six? Where does a message from the contact form go? Answer those before asking an AI to write code, and the first version is much easier to test.
This guide builds a local business website with Layerwise, using a neighborhood bakery as the example. You will put the business details in one file, decide what the owner edits, limit each pickup slot, restrict the dashboard, protect the public forms, set up search and sharing, start from the Bloom Bakery template or a prompt, test, and publish. Bloom Bakery is fictional, including its address, phone number, story, and customer quotes, so replace them with your own.
1. Put the business in one file
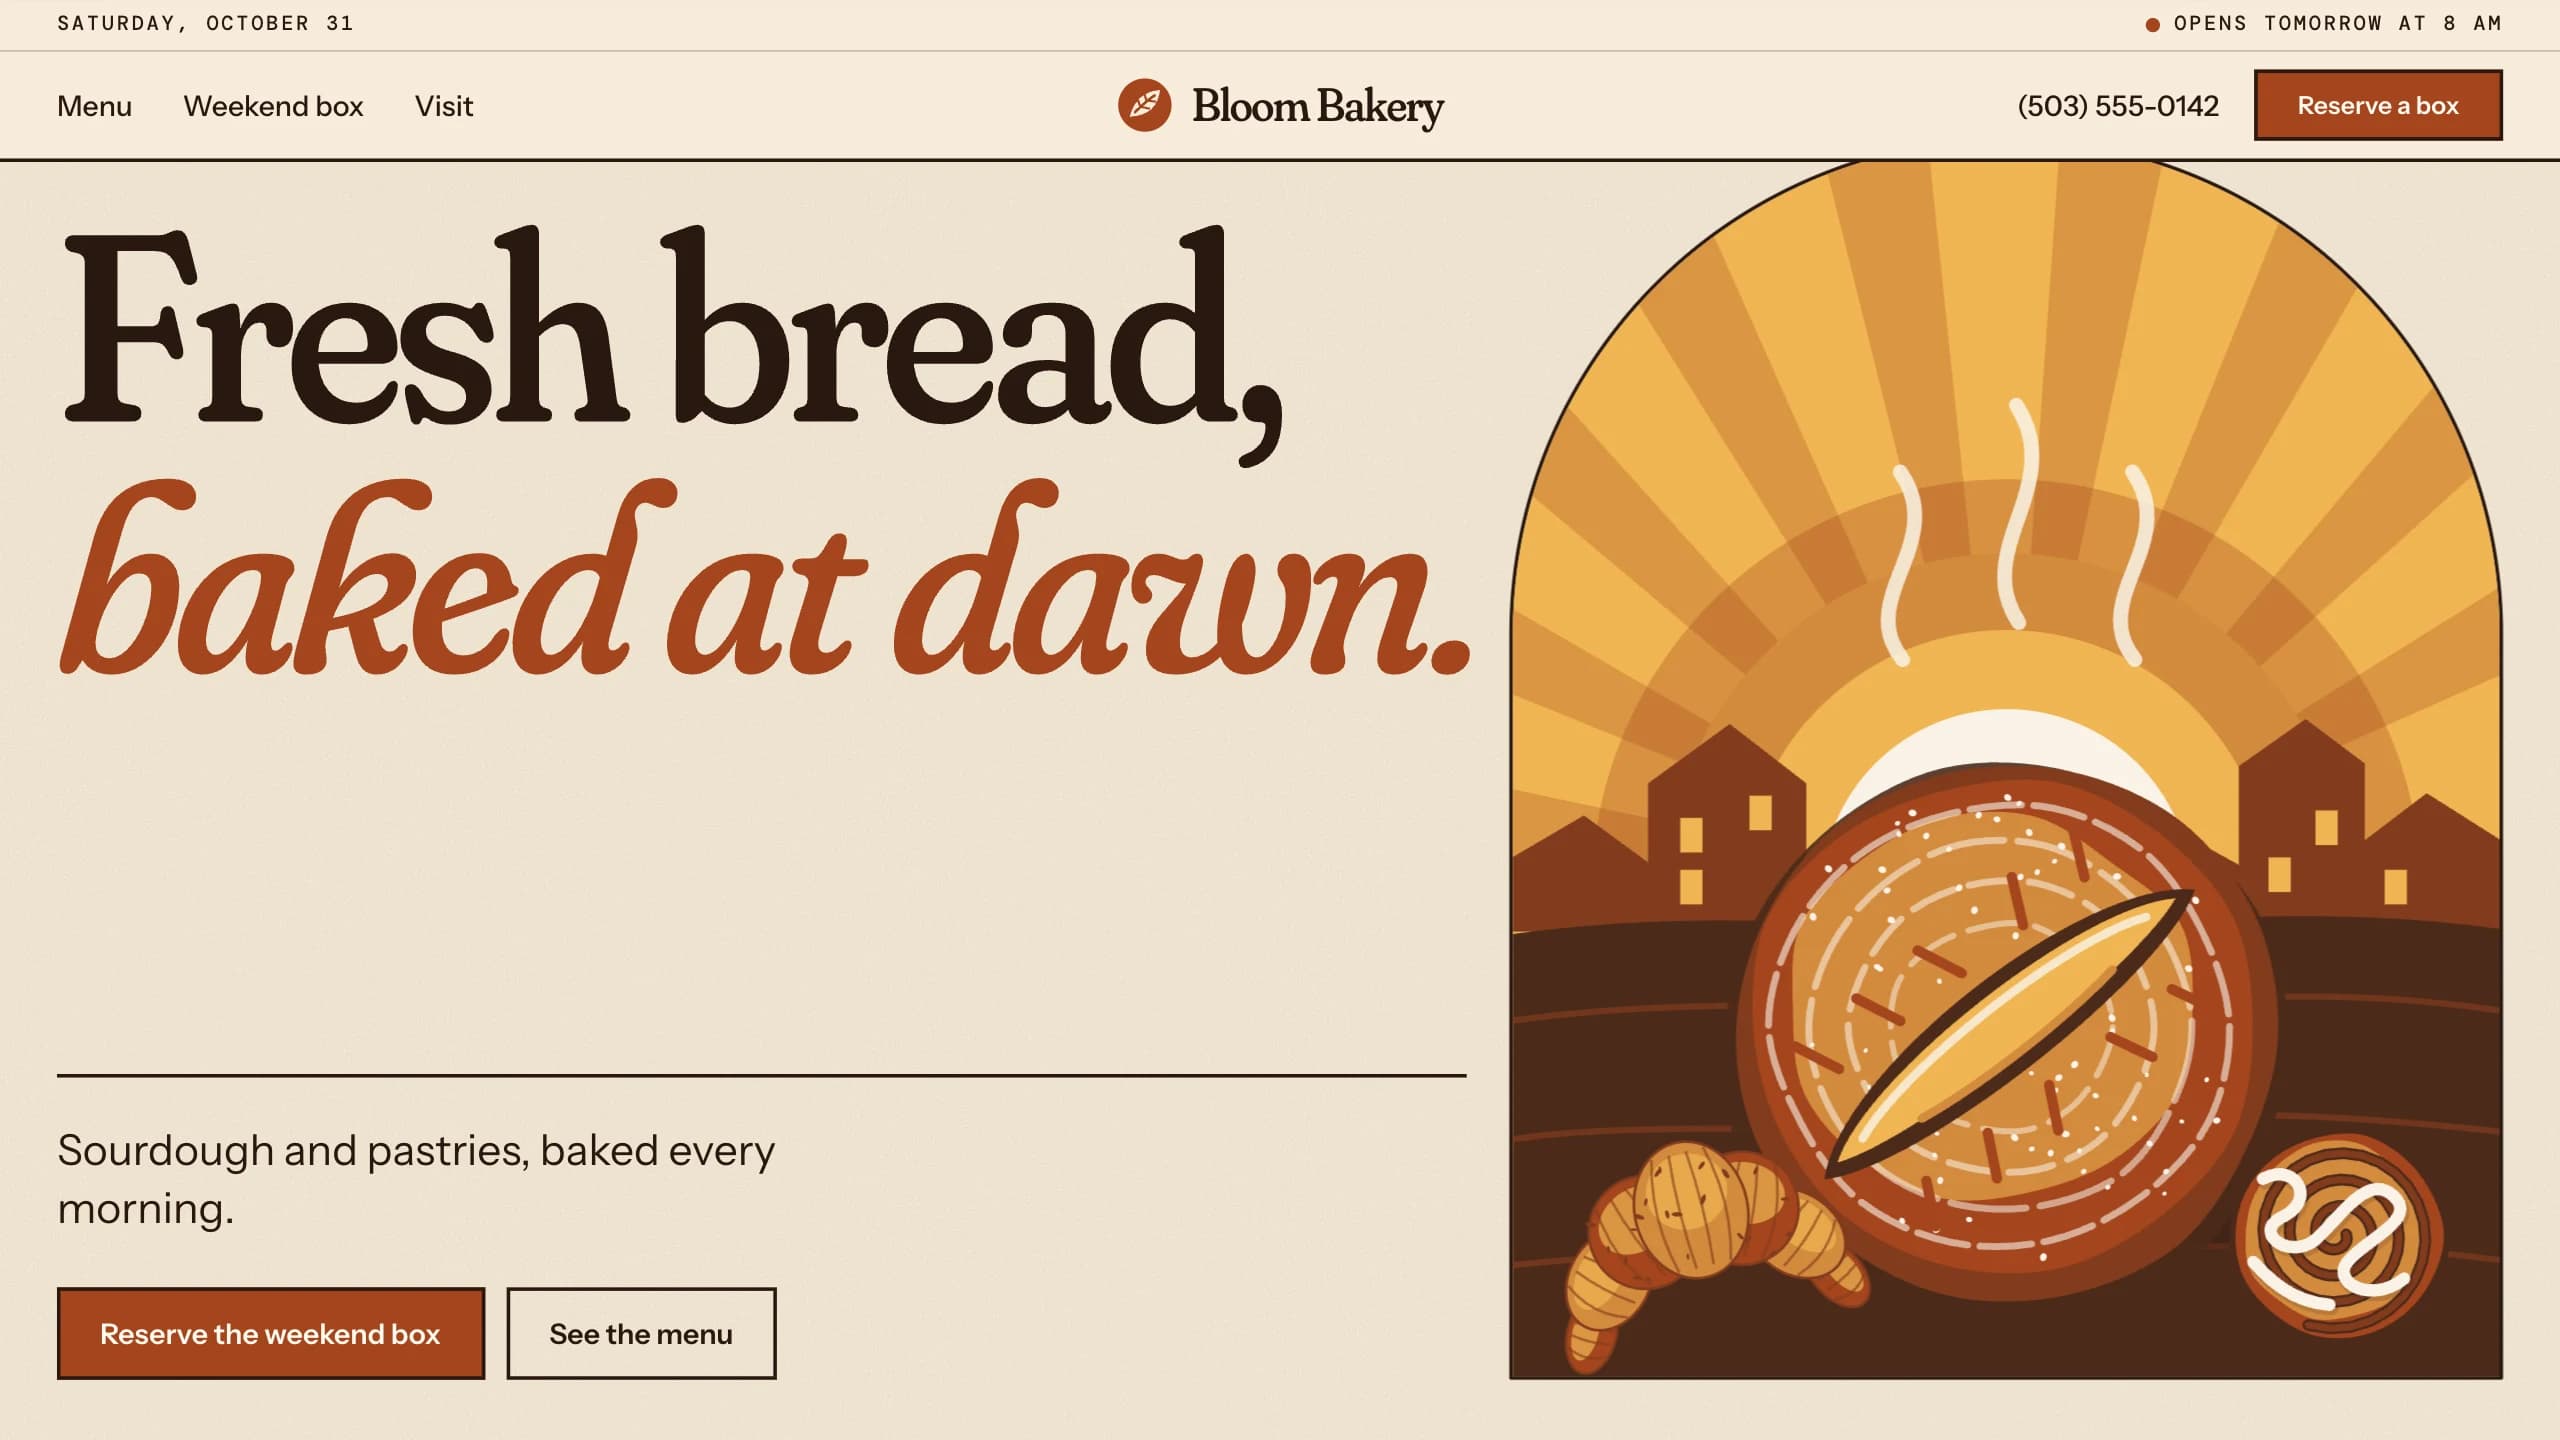
A business name appears in the header, the footer, emails, and search results, and hours and a phone number repeat almost as often. Keep each fact in one place, and a new owner can make the site theirs without hunting through pages. Bloom keeps them in src/business.config.ts. This is a shortened version:
export const business = {
  name: 'Bloom Bakery',
  headline: 'Fresh bread, baked at dawn.',
  contact: {
    phone: '(503) 555-0142',
    street: '214 Larkspur Lane' /* and more */
  },
  timeZone: 'America/Los_Angeles', // "today" and pickups use this zone
  hours: { 0: { open: '08:00', close: '13:00' }, 1: null /* null is closed */ },
  owners: ['owner@bloombakery.example'], // who can open the dashboard
  notifyEmail: 'owner@bloombakery.example', // where contact messages go
  pickup: {
    capacityPerSlot: 6,
    maxPerReservation: 4,
    daysAhead: 21,
    cutoffHours: 2 /* and more */
  },
  demoDashboard: true,
  limits: {
    reservationsPerHour: 8,
    messagesPerHour: 4,
    emailsPerDay: 150 /* and more */
  }
};
The pages, emails, share tags, structured data, and illustration colors read from this file. The home page splits headline at its comma into two lines, so keep one comma in it. Page headlines such as Come by early., the Breads, Pastries, and Coffee categories, and the illustrations are in code, so for a florist or a bike shop, ask the agent to change those too.
Replace owners and notifyEmail with your own address before you publish. This step is required. The sample addresses end in .example and can't receive mail. Until you change them, nobody can get a sign-in code for the published dashboard, and contact form notices are skipped, though messages are still saved.
2. Separate the config from the database
Changing the config means publishing again, so anything an owner changes week to week belongs in the database. Bloom splits its data three ways:
- Config only: the name, contact details, colors, social links, story, owner list,
notifyEmail, form limits, and three pickup rules:maxPerReservation,daysAhead, andcutoffHours. - Config first, then the database: hours, pickup days, pickup times, and boxes per slot start from the config. Once an owner saves them in Settings, the saved values win and later config edits have no effect. To go back to the config, delete the
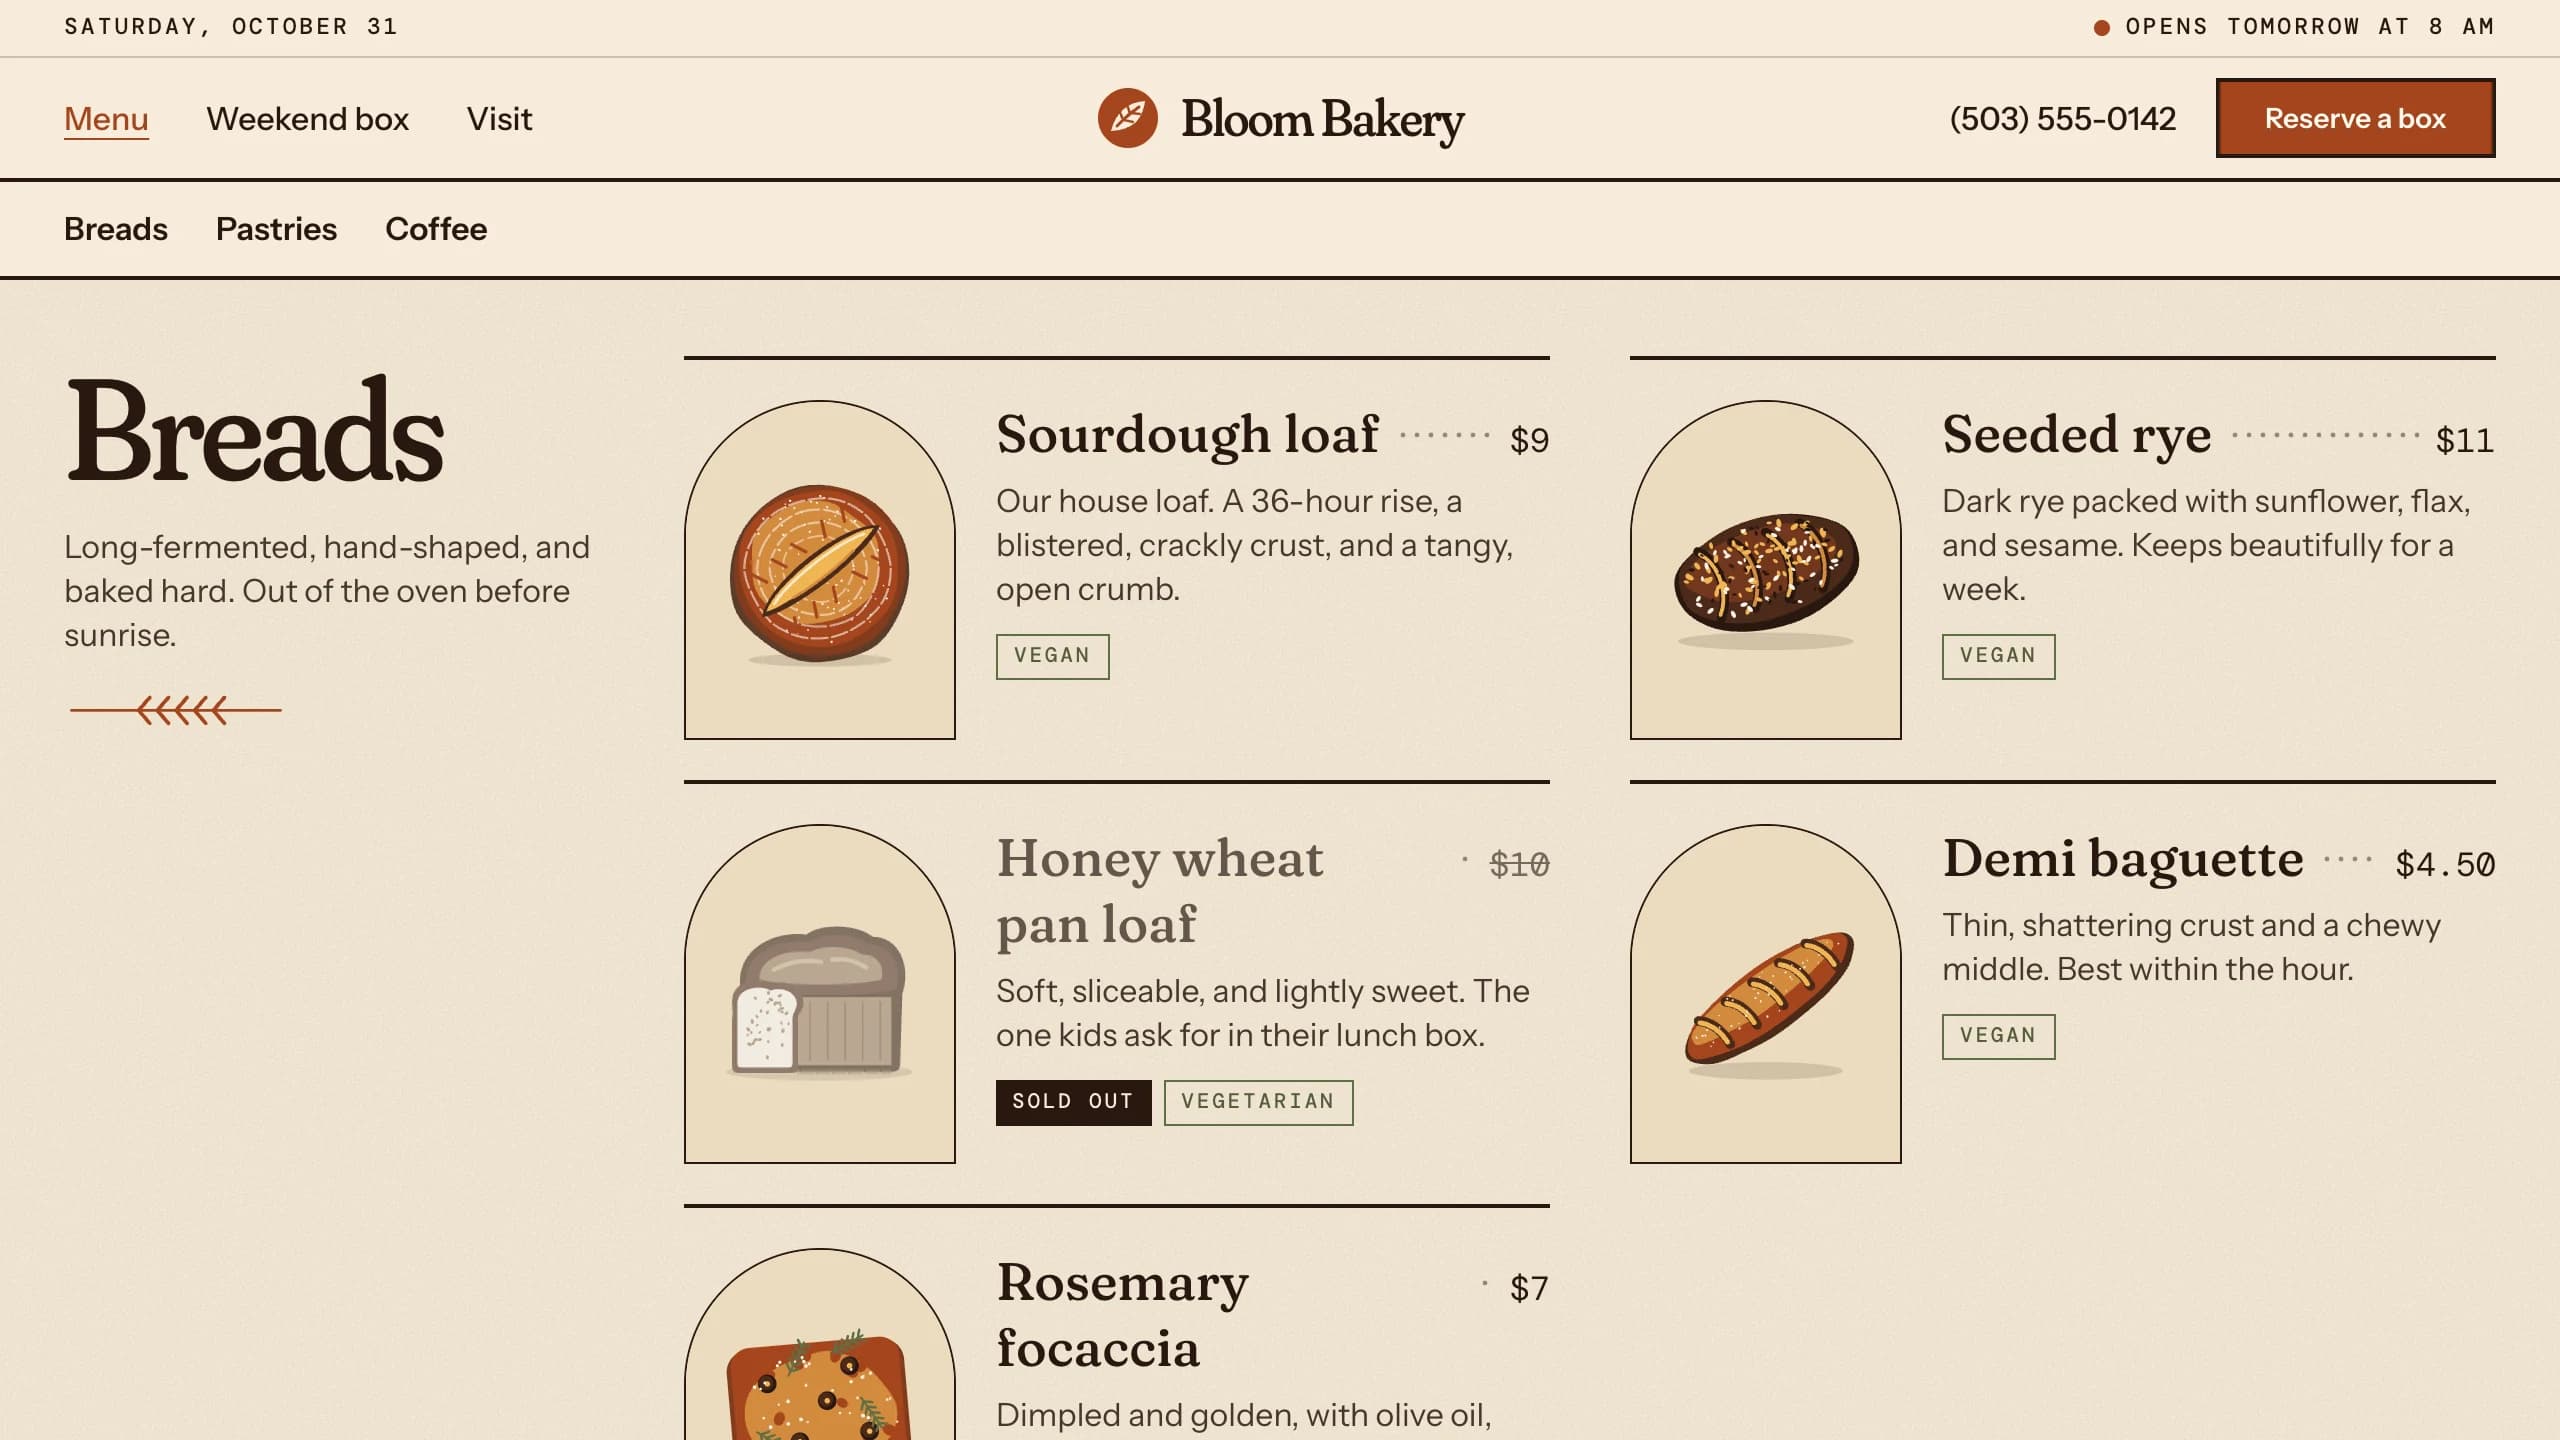
hoursorpickuprow from thesettingstable. - Database: a migration seeds 16 menu items, three quotes, and the weekend box. Owners edit the menu and box in the dashboard. Quotes have no dashboard screen, so edit the
quotestable on the Database page, where you can browse and change rows.
Menu photos go in Storage. In the dashboard's Menu, choose Edit on an item, then Upload photo and Save item. Bloom accepts JPG, PNG, and WebP files up to 8 MB, and the browser shrinks a large photo to at most 1600 pixels before sending it. Files are saved under menu/ and served from the site at /media/, which exposes nothing else in Storage. An item without a photo shows its illustration. The local preview and the published app share one Storage but use separate databases, so a photo uploaded in the preview is stored for real while only the local menu points to it. Upload your real photos from the live dashboard.
3. Limit each pickup slot
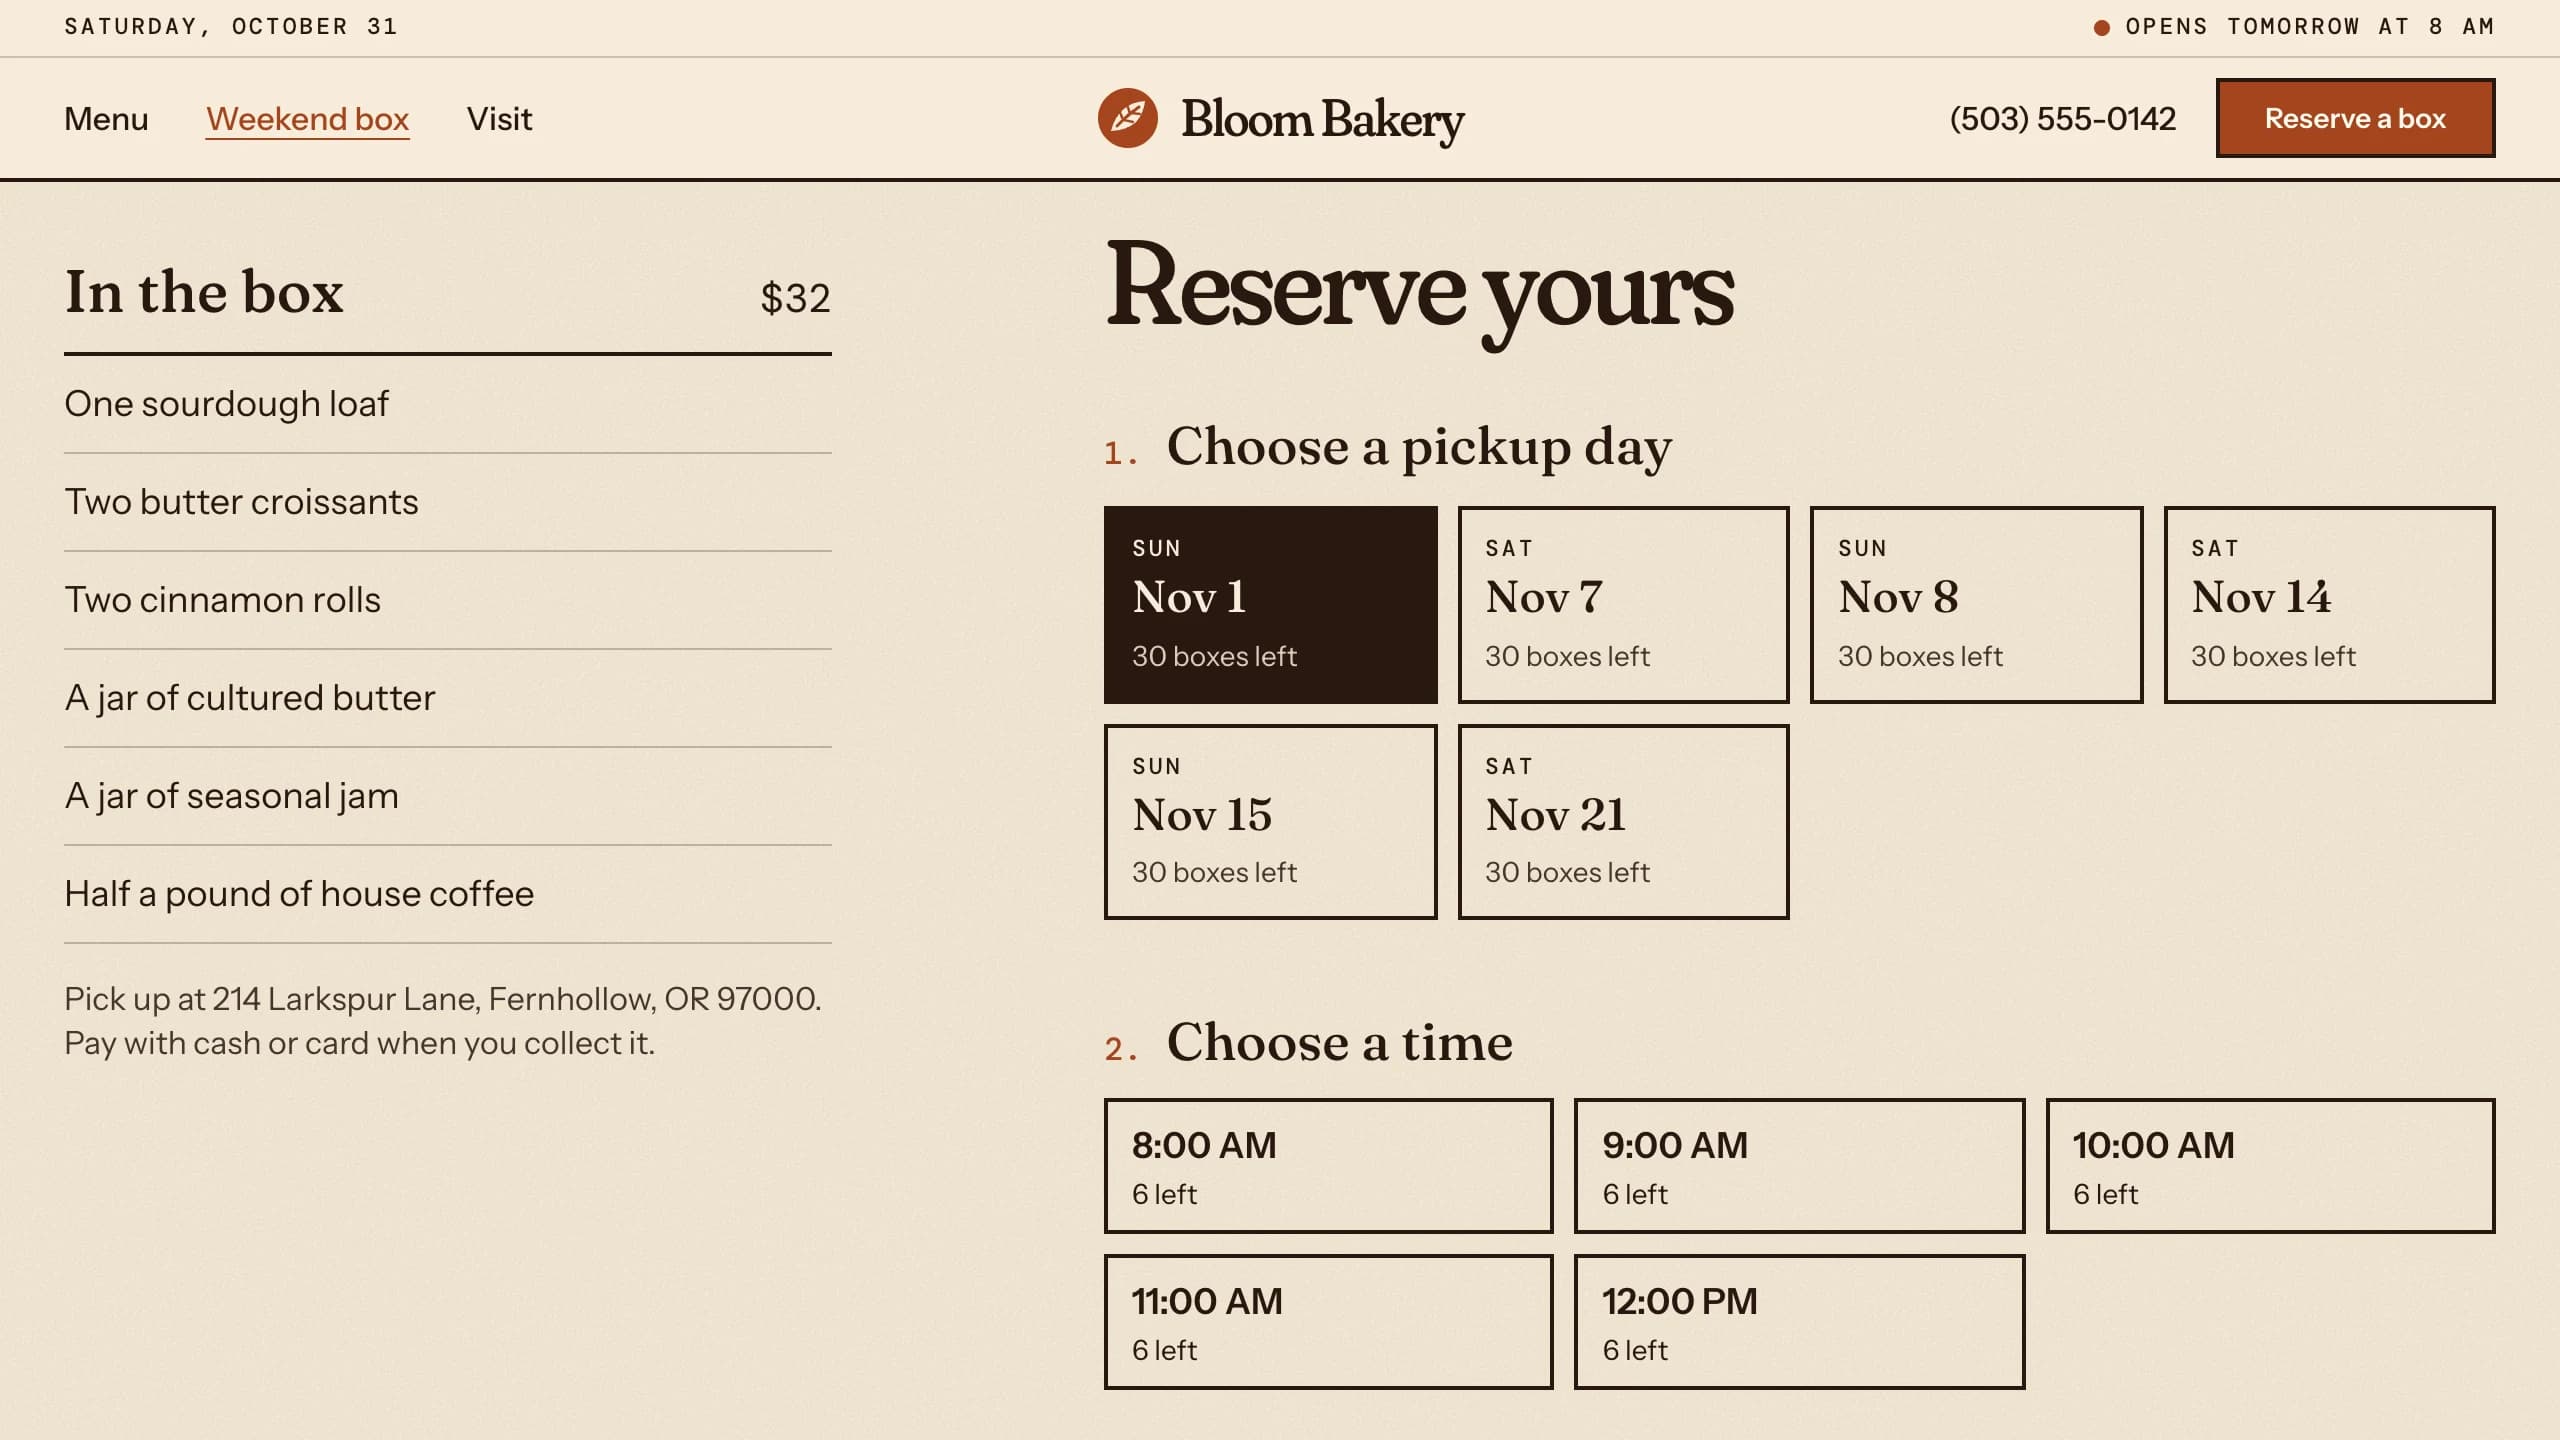
A reservation promises that something will be ready at a certain time, so the site can only promise what the business can hand over. Bloom's sample box costs $32 and can be picked up at five times on Saturdays and Sundays, with six boxes per time, which makes 30 a day. Customers can reserve up to 21 days ahead and until 2 hours before a pickup, a reservation holds at most 4 boxes, and a time must fall inside that day's opening hours. Customers pay in store with cash or card, so the site never handles payment.
Reading what's left and then saving in a second step can overbook, because two people can read the same last box. Bloom puts the check inside the INSERT in src/server/reservations.ts, and D1 runs each statement atomically:
INSERT INTO reservations (...) SELECT ...
WHERE (
  SELECT COALESCE(SUM(quantity), 0) FROM reservations
  WHERE pickup_date = ? AND pickup_time = ? AND status <> 'canceled'
) + ? <= ?
If no row is inserted, the slot had no room, and the customer sees how many boxes are left. The template's tests send 20 one-box reservations at once to a slot of six and expect exactly six to succeed. Canceled reservations don't count, so canceling frees the boxes, and an owner who reopens one goes through the same check. Each reservation stores the box price at booking time, a short reference such as BB-7K2F, and a private link with 192 random bits. That page hides the phone number and masks the email address. Customers can cancel there through the day of pickup, but they can't reschedule.
4. Limit who can open the dashboard
Access comes from the owners list. An account needs a verified email on that list, sign-up is closed, and the public sign-in form only sends codes to listed addresses. Anyone else sees the same Check your email page and never receives a code. Codes have six digits and expire after 5 minutes. Every dashboard server function checks the owner with ownerMiddleware, because a server function can be called directly and a guard on the page alone would protect nothing. To change who has access, edit the list and publish. An account removed from it sees This one's for owners at the dashboard.
Owners get five screens. Today shows today's pickups by time, with counts for Boxes today, To pack, Ready, and Picked up. Reservations lists every reservation with status filters and search. Messages holds the contact form, Menu edits items and their Sold out and Feature on home switches, and Settings holds hours, pickup capacity, and the box.
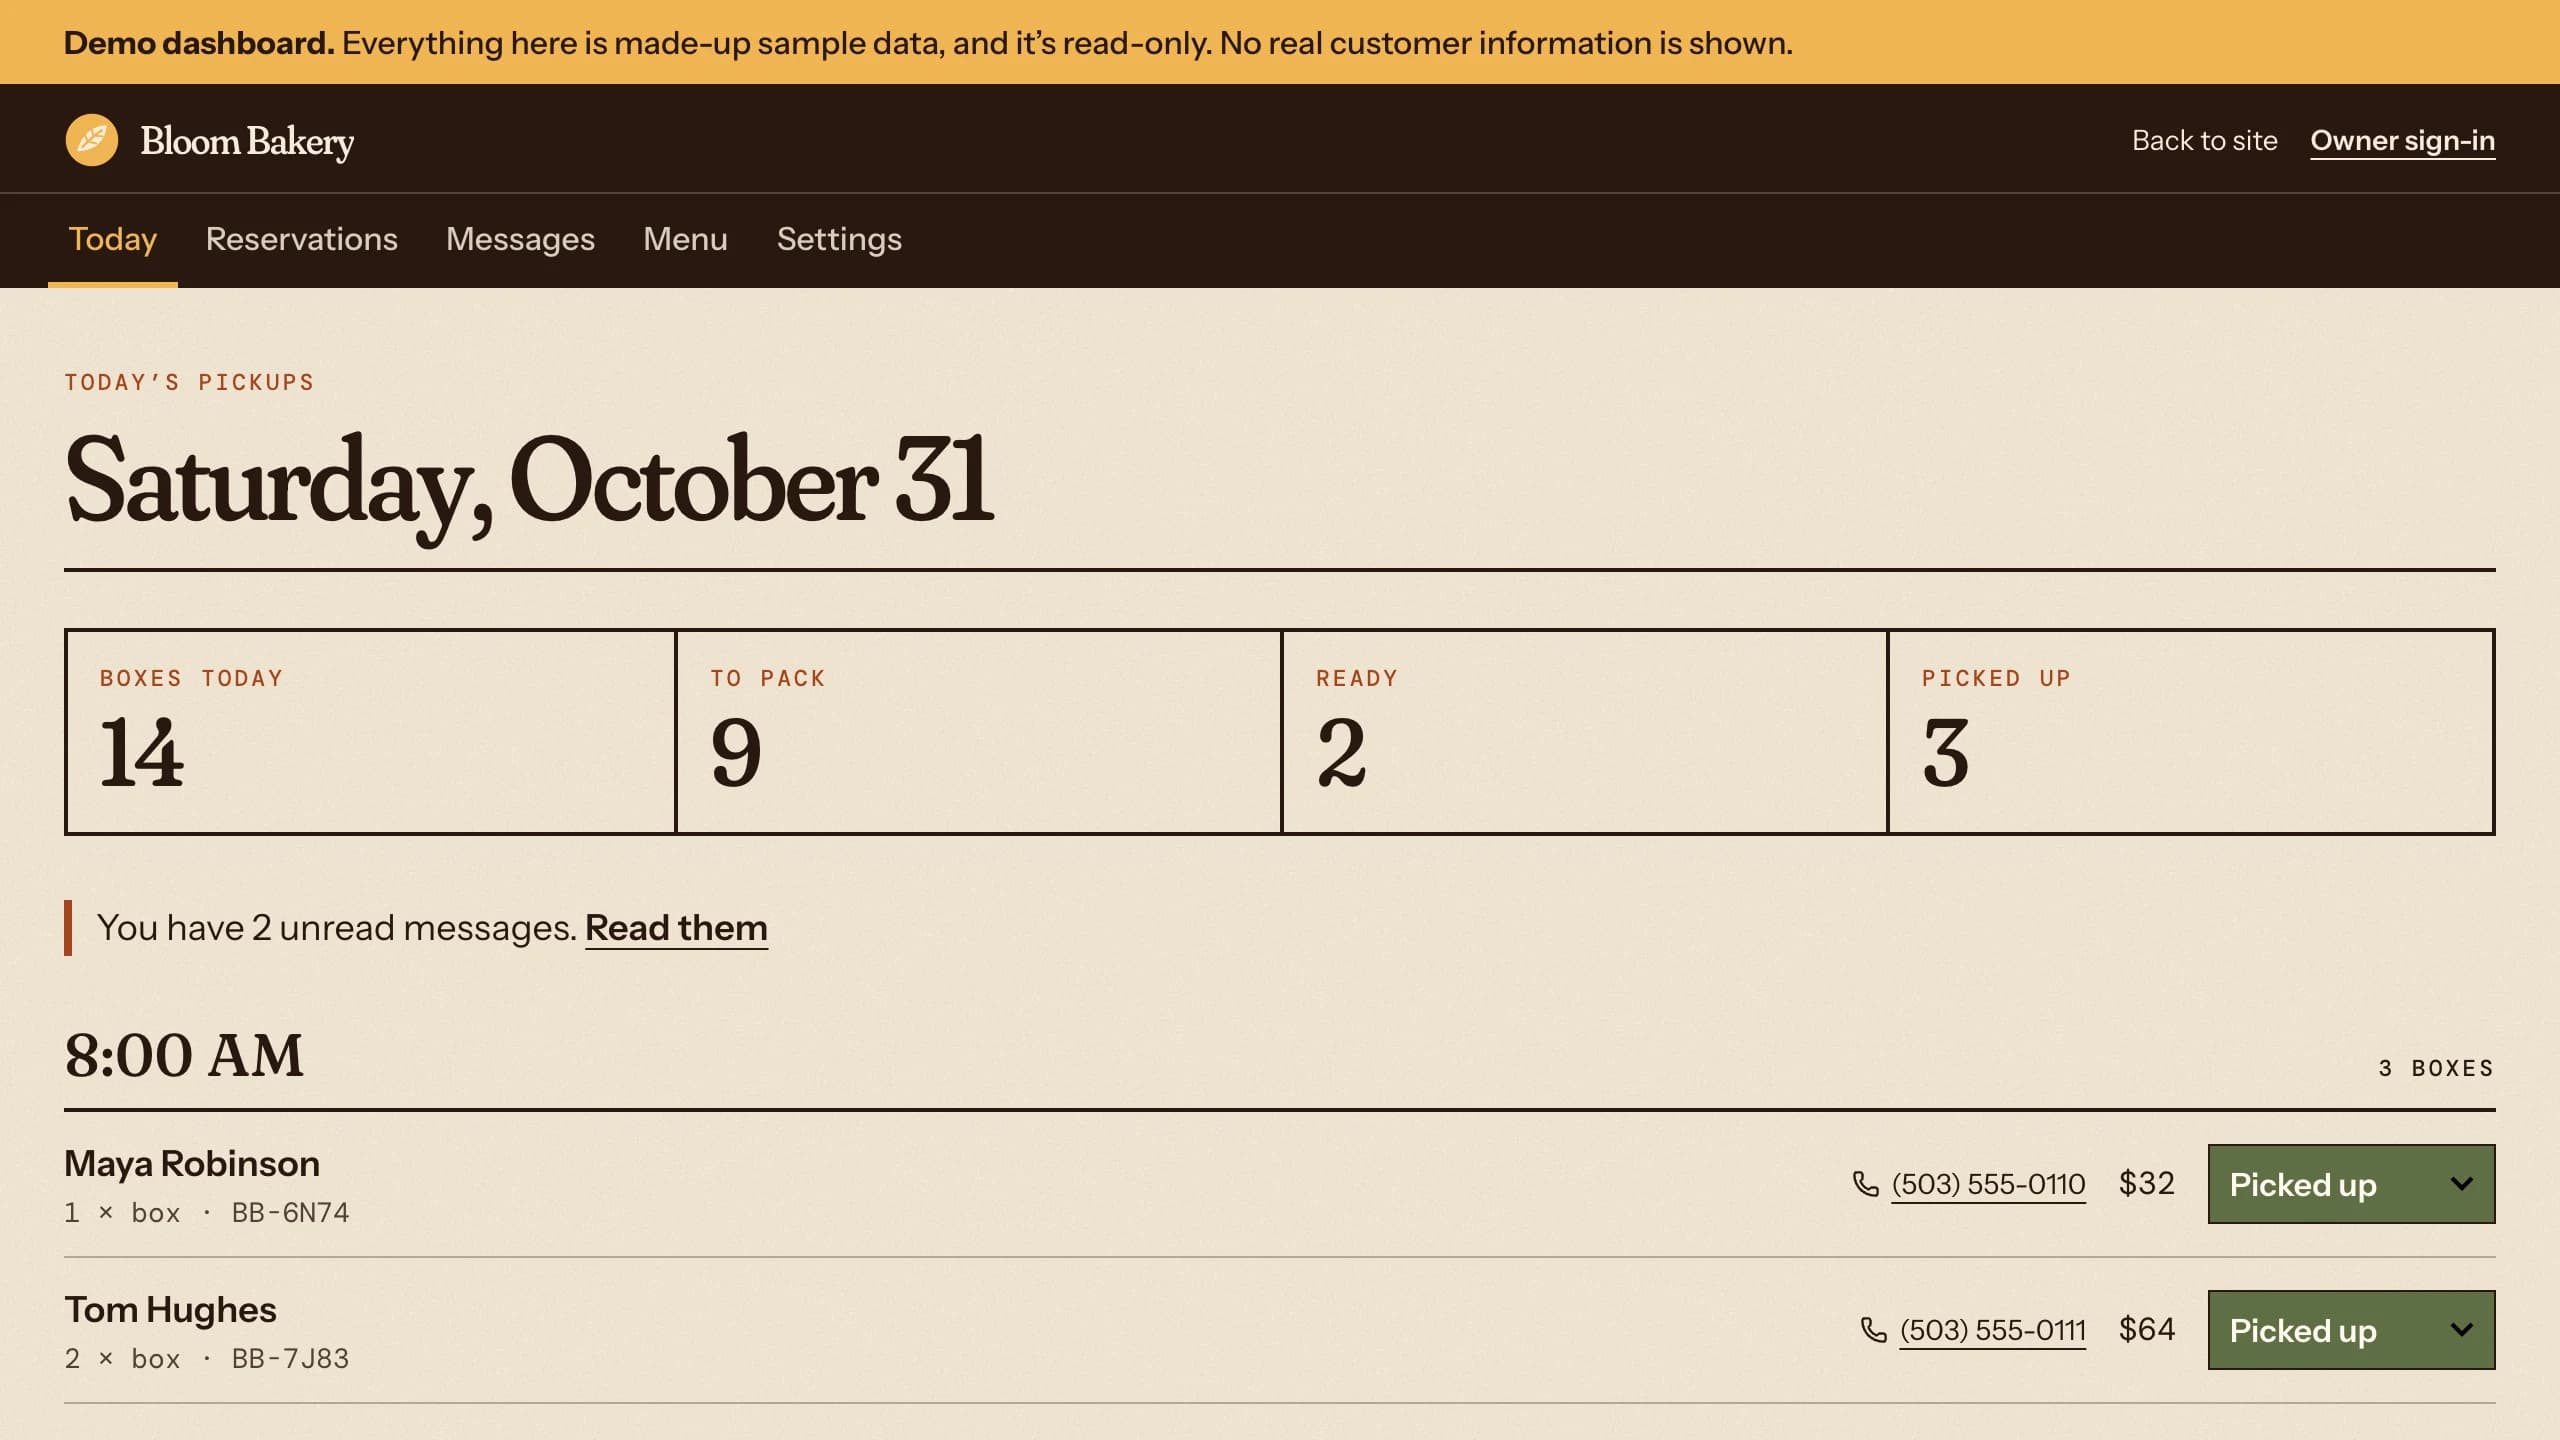
A public demo shows those screens without an account. /demo uses the same components with made-up data from src/lib/demo-data.ts, and its pages never read the database. Filters and search still work, but anything that would change data is disabled. It suits a template and looks out of place on a real bakery's site, so set demoDashboard: false. /demo then shows the not-found page, and the View demo dashboard links disappear.
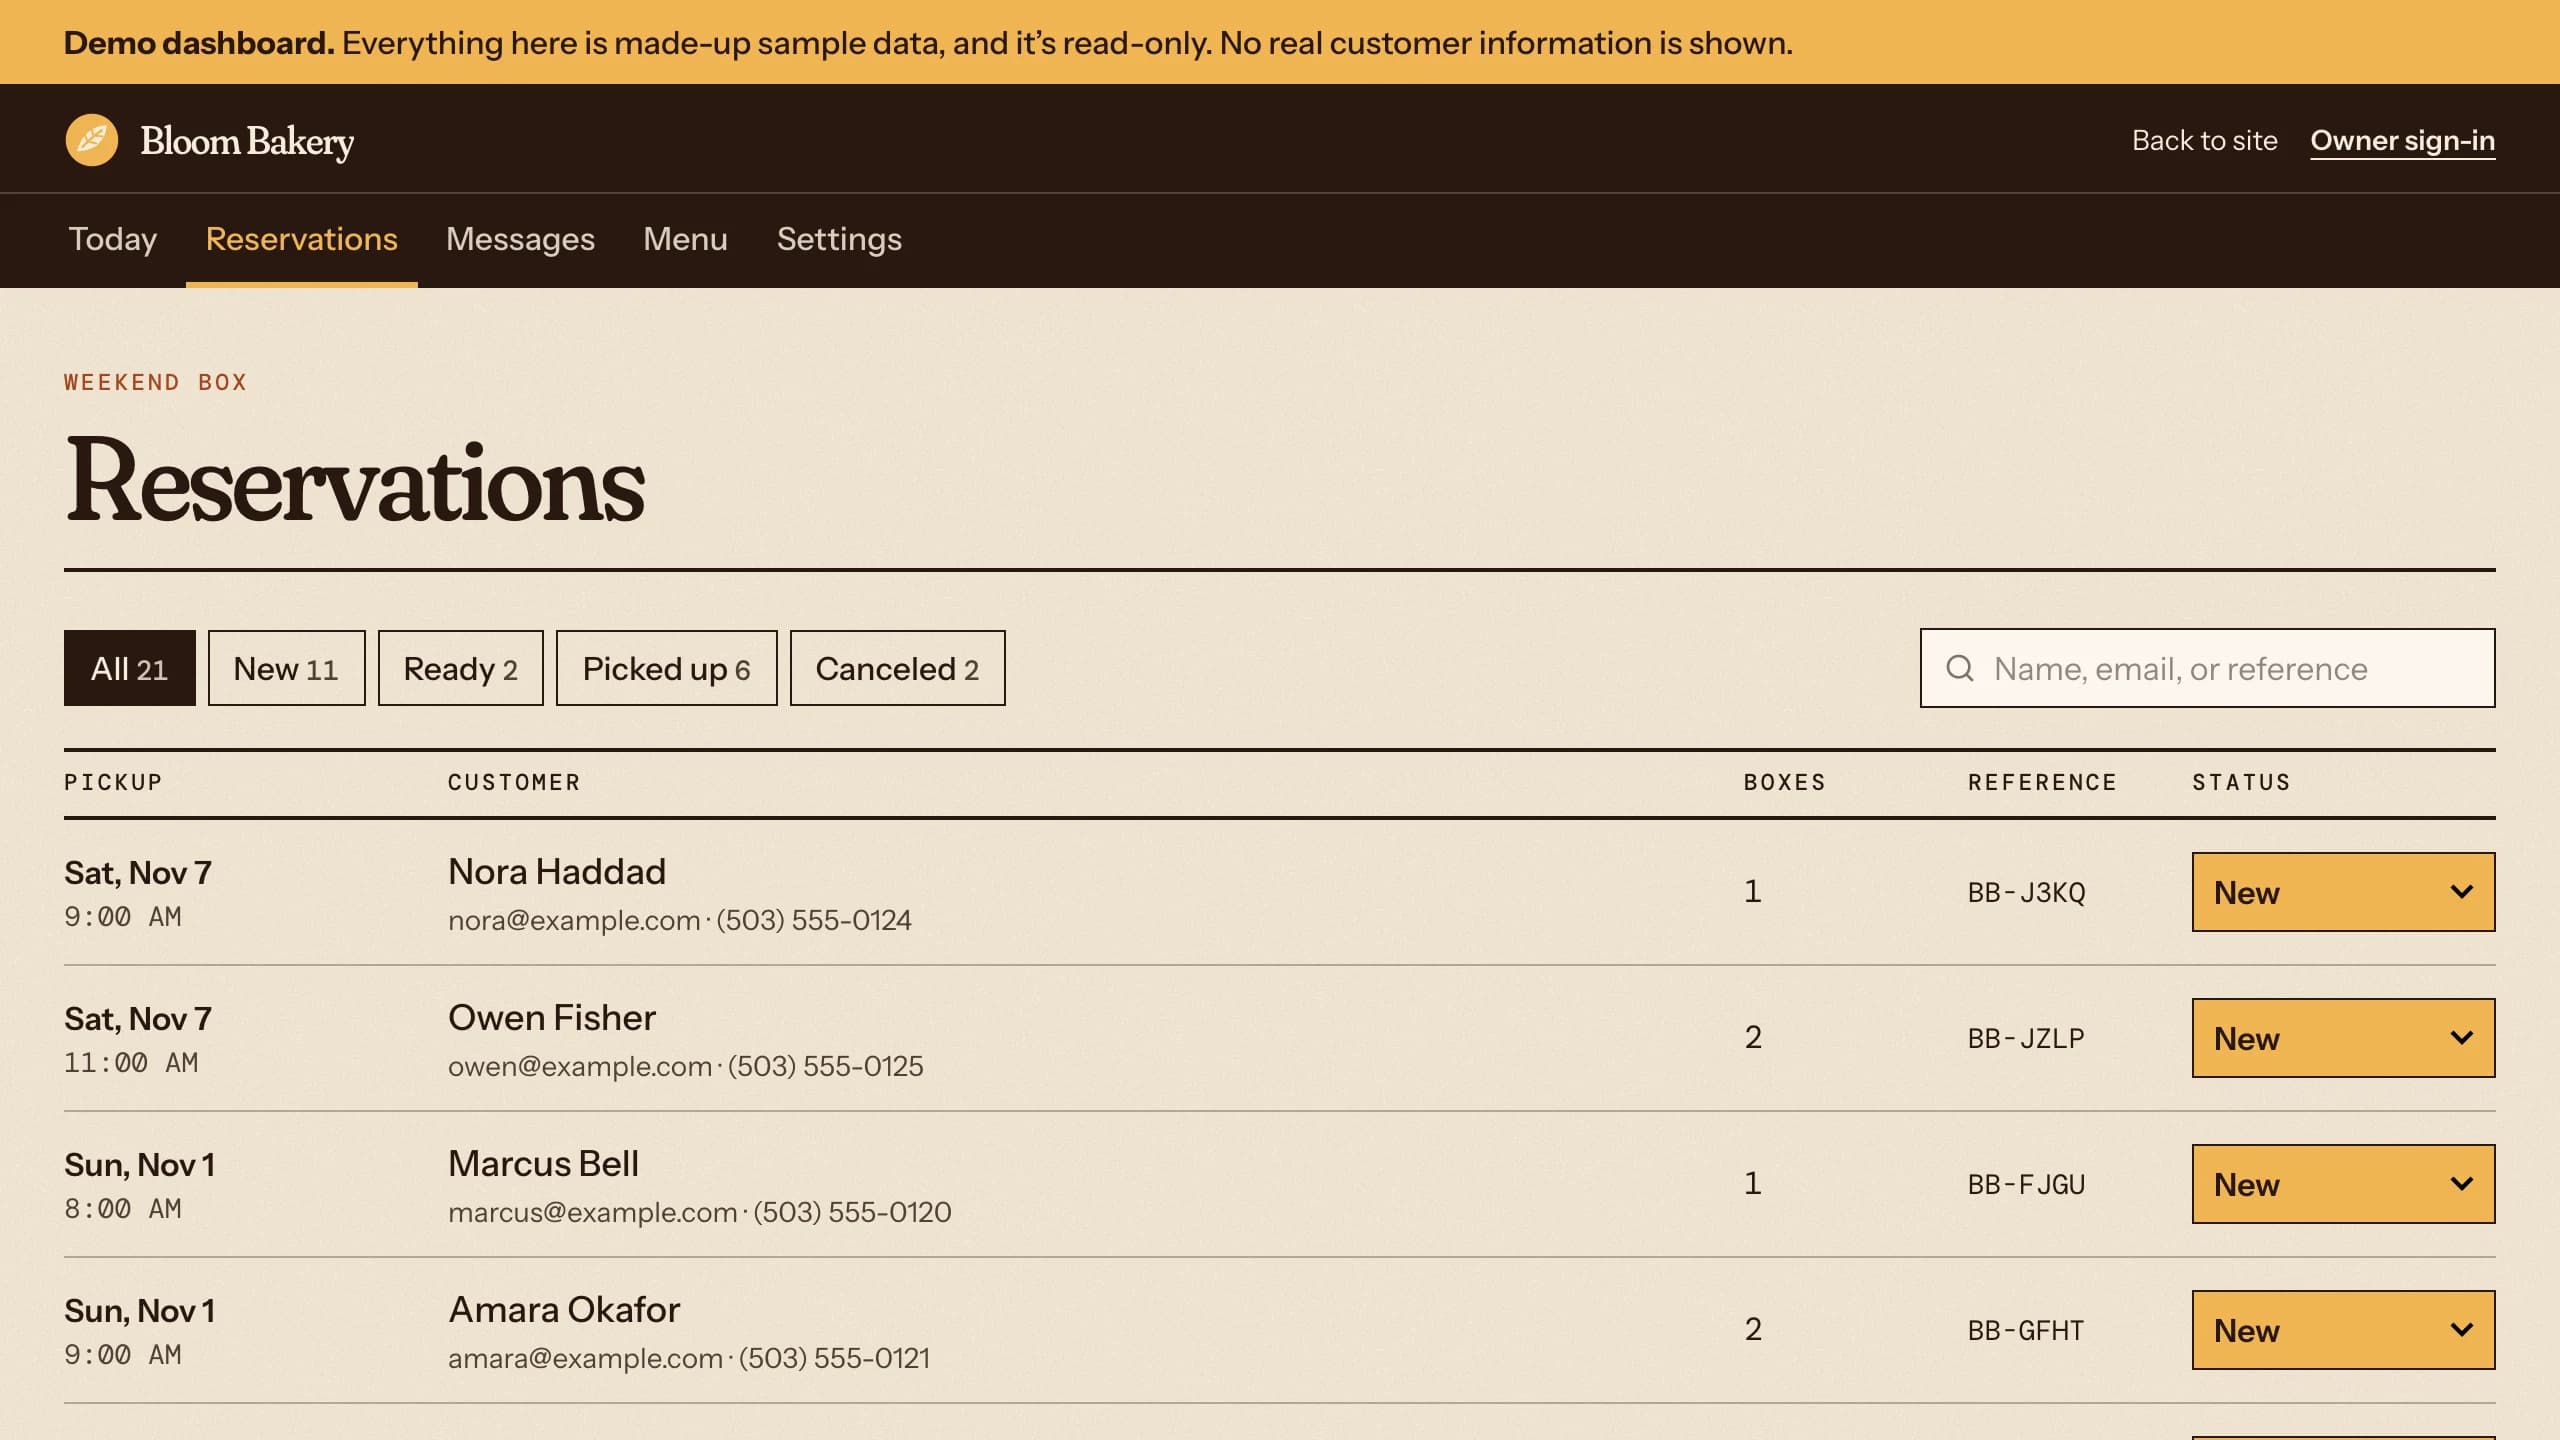
5. Plan spam limits and email
The reservation and contact forms are public, so bots will find them, and each submission can send an email. Bloom has no CAPTCHA. It uses a honeypot and the limits in the config:
- Honeypot: a hidden
websitefield that people never see. A submission that fills it in or leaves it out is refused. - Per visitor: 8 reservation attempts and 4 contact messages per hour for each IP address, stored as a hash in the database. Past that, the form asks people to try again later or call.
- Per address: 4 confirmation emails a day. A fifth reservation from that address is still saved, and its page asks the customer to save the link.
- Per day: 150 confirmation and contact emails in total. After that, reservations and messages are still saved, with no email. Sign-in codes don't count here.
Layerwise Email sends the mail, starting after the first publish. Customers get their pickup time, the amount due, the reference, and a View or cancel your reservation link. Contact messages go to notifyEmail with the customer as the reply-to address, so replying reaches them directly. Check your plan too, because its daily limit can be lower than 150: Free allows 20 app emails per project per day and Pro allows 200. When a send fails, the reservation stays, and its page says We couldn't email your confirmation this time, so please save this page.
Apart from sign-in codes, the owner gets email for contact messages only. New reservations and cancellations appear in the dashboard with no notice. That's a good first change. Turn on Plan mode, described in Direct the agent, to review it first:
Email notifyEmail when a weekend box is reserved and when a customer cancels,
with the pickup day and time, number of boxes, customer name, and reference.
Send through the deliver function in src/server/mail.ts so the daily email cap
applies, and never let a failed email stop the reservation or cancellation.
Explain how this changes the number of emails per day before writing code.
6. Set up local search and sharing
Each public page sets its title, description, canonical URL, and link preview tags with seo(). The home and Visit pages add Bakery structured data with the name, address, phone number, and current hours. /sitemap.xml lists the four public pages, and /robots.txt keeps the dashboard, demo, reservation links, and sign-in pages out of search. Add any new public page to sitemapPaths in src/lib/site.ts.
A few things don't follow the config. Replace public/og-image.png, the 1200×630 image shown in link previews, and the icons beside it. The Menu and Weekend box pages have their own search descriptions, and src/lib/structured-data.ts sets the Bakery type and the $$ price range. The map on the Visit page is a drawn graphic with labels from mapLabels, so consider adding a link to a live map. After you connect a custom domain, set site.url so Google indexes that address. Search and sharing covers Google Search Console; the verification tag goes in googleSiteVerification.
7. Choose a starting point
Download Layerwise, sign in, and select a team. To start from the template, open Bloom Bakery, choose Use this template, pick a team and project name in Layerwise, then choose Copy to Layerwise. The capacity check, owner access, and form limits are already implemented, so your work is replacing the business details and adapting the pages. Other workflows are in the template gallery. To start from scratch, enter a description in Describe the app you want to build... on the team home page. Include the decisions above: the pages, what the owner edits, pickup days and capacity, who can sign in, and how customers pay. A blank start lets you choose each behavior, but you must verify each one yourself. The prompting guide explains how to describe users, data, and screens.
8. Test in the local preview
Once the local preview loads, choose Owner sign-in in the footer, enter an address that isn't on the list, and choose Continue with email. No code should appear under Email → Local. Go back with Use a different email and enter a listed address. The local preview never sends real email, so copy the code from Local, enter it, and choose Verify and sign in. Today should open.
Next, try to overbook. Open Weekend box in two tabs and pick the same day and a time showing 6 left. In the first tab, choose 4 boxes, fill in Name for the pickup, Email, and Phone, and choose Reserve and pay in store. You should land on a page that says You're on the list with your first name, and a confirmation should appear under Local. Do the same in the second tab. It should show Only 2 boxes are left at that time. Choose fewer boxes or another time.
Find the first reservation in the dashboard's Reservations and set it to Ready. Reload its private link, and the page should say It's ready. Choose Cancel this reservation, then Yes, cancel it, and the slot should show 6 left again. A pickup on a later day appears in Reservations, while Today only lists today's. In Settings, set Boxes per time slot to 2 and choose Save pickup capacity; open slots on Weekend box should read Only 2 left. In Menu, turn on Sold out for an item and check that the public menu marks it. The switch stays on until you turn it off, even though the item's form calls it Sold out today.
On Visit, choose Send message. You should see Got it, thank you., a notice under Local, and the message in Messages. The fifth message in an hour should show That's a lot of requests in a short time. Your tests count toward these limits, so delete the rows in the local rate_limits table if one gets in your way. Check every page at phone width too. If a check fails, open the preview console from Preview actions, or find the failed request in Logs.
9. Publish and improve it
Before publishing, confirm that owners, notifyEmail, and the contact details are real and demoDashboard is false. Choose Publish in the preview header, then Publish in the menu, and open the live URL when the release finishes. New projects on paid plans start private, so turn off Private in the Publish menu, or customers will see an access error. The publishing guide covers release status.
Publishing applies the same migrations to the production database, including the seeded menu, quotes, and box. Local and Online are separate, so reservations and dashboard edits from the preview aren't copied. Sign in at /sign-in on the live site with the code sent to your inbox, then enter your real menu, photos, hours, and box. The sample quotes are made up, so replace them in the quotes table with Online selected on the Database page. Then reserve a box with a real address, confirm the email arrives, and cancel it from the link. Email → Online shows each message's delivery status.
Choose the next change from what customers do. Analytics shows which visits come from Google and Instagram, and Messages shows what people ask that the site doesn't answer yet. Only the box can be reserved today, and customers get no reminder or ready notice, so those are common next requests. Start from Bloom Bakery if a counter-service shop with pay-in-store pickup fits your business, or from a prompt if you need something different. For the full project workflow, follow the Quick start.